

Azure VMware Solution (AVS) and Pure Cloud Block Store™ optimize your cloud spend while delivering enterprise features that are critical for on-premises VMware users. In other blog posts in this series, we’ve talked about utilizing Run Command to administer your AVS and Pure Cloud Block Store integration, as well as enablement and automated lifecycle management. Recently, we introduced the capability for you to self-onboard your AVS instance to utilize Pure Cloud Block Store, and in today’s blog post, we’ll walk through the simple steps required to make it all work together.
Step 1: Enabling iSCSI Multipath IO for AVS
AVS ESXi hosts and Pure Cloud Block Store utilize the iSCSI block protocol to connect to one another. A core best practice for using iSCSI in any VMware environment is to enable Multipath IO (MPIO) as this feature will not only increase fault tolerance should a single iSCSI path go down but also help to improve performance by allowing storage traffic the ability to traverse multiple network paths between the Azure VMware Solution ESXi hosts and the Pure Cloud Block Store controller VMs.
AVS provides a very simple mechanism to enable MPIO from the Azure portal as shown below; however, the caveat is that it does require a little bit of network planning.
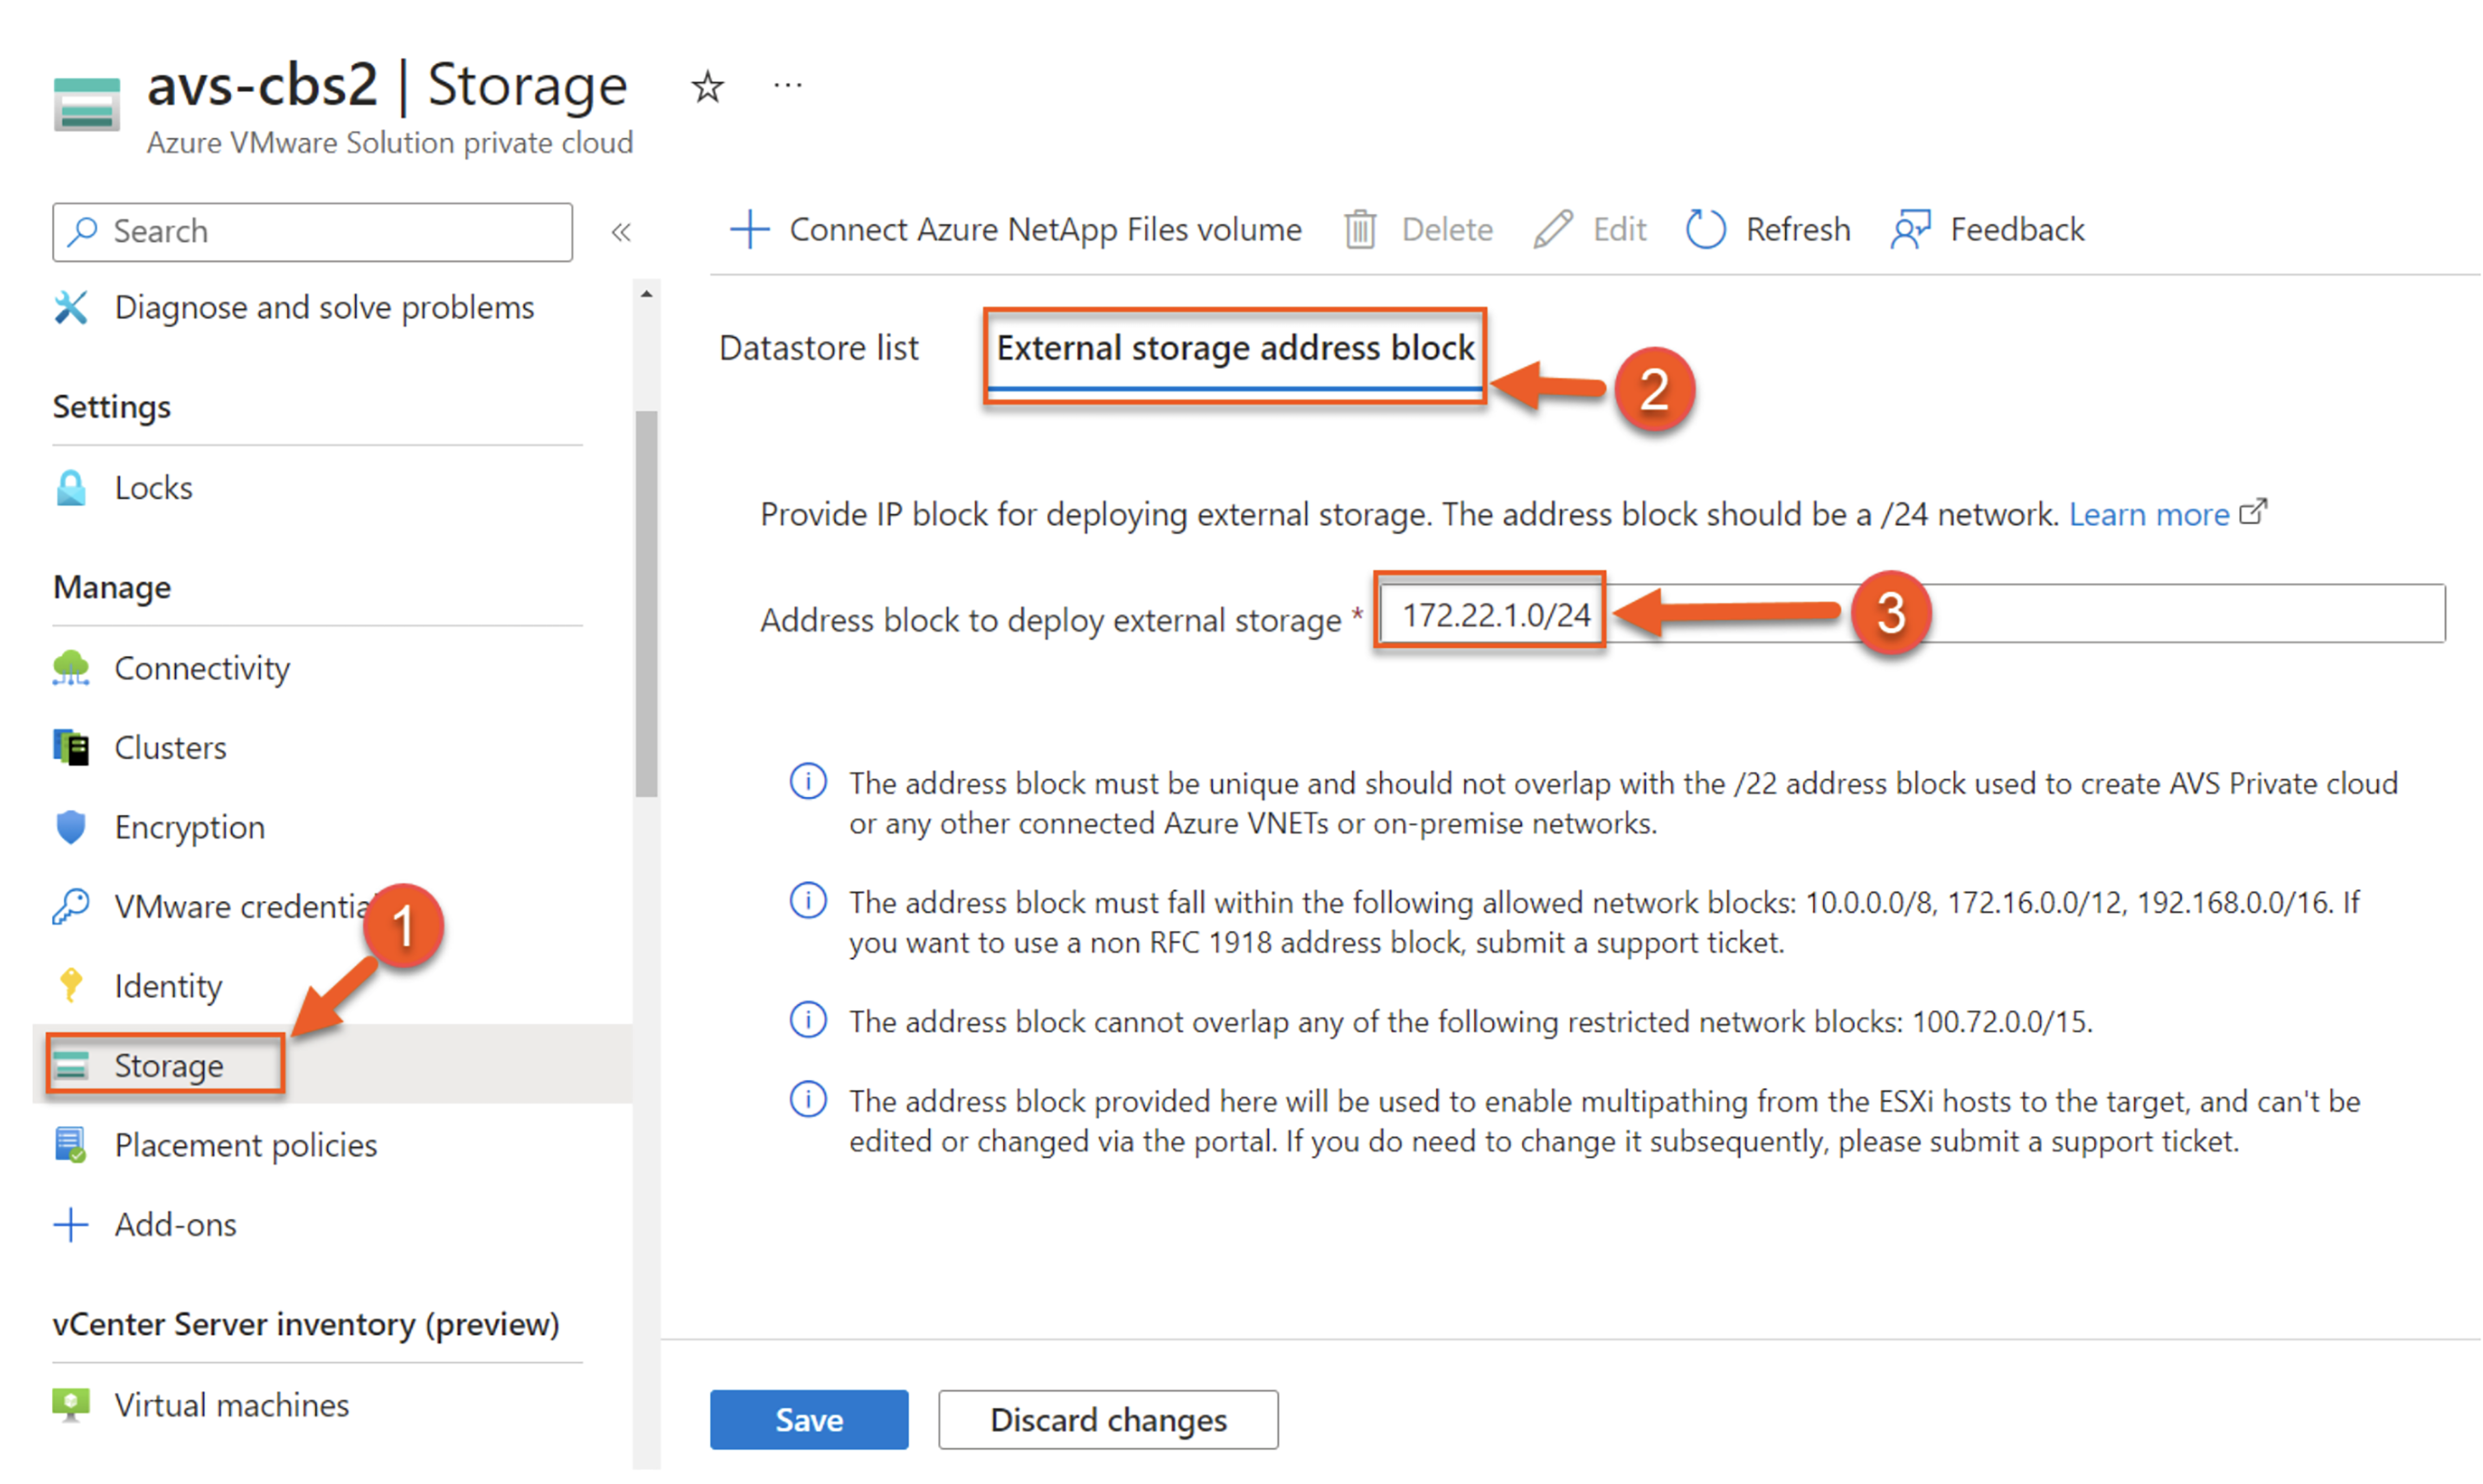
Figure 1: Providing an external storage address block in the AVS portal for iSCSI MPIO.
When you kick off the MPIO enablement process, AVS will add a couple of VMkernel ports to your existing AVS ESXi hosts, and those VMkernel ports are assigned IP addresses from the /24 CIDR block that you input via the screenshot above. From a networking perspective, it is required that the /24 CIDR block you pick does not overlap with the /22 network that AVS was given when it was originally created. Furthermore, that CIDR block also cannot overlap with any Azure vNET or on-premises networks that AVS is connected to. Once you’ve found a suitable CIDR range that fits that criteria, you simply need to enter it into the field above and AVS will automatically provision and get it set up after about 5-10 minutes. That’s all that is needed at the ESXi level to utilize Pure Cloud Block Store.
You can confirm it worked by logging into your AVS vCenter, and checking an ESXi host as shown below to confirm that there are VMK5 and VMK6 VMkernel ports added to your AVS hosts. VMK5 and VMK6 are the VMkernel ports dedicated to iSCSI traffic.
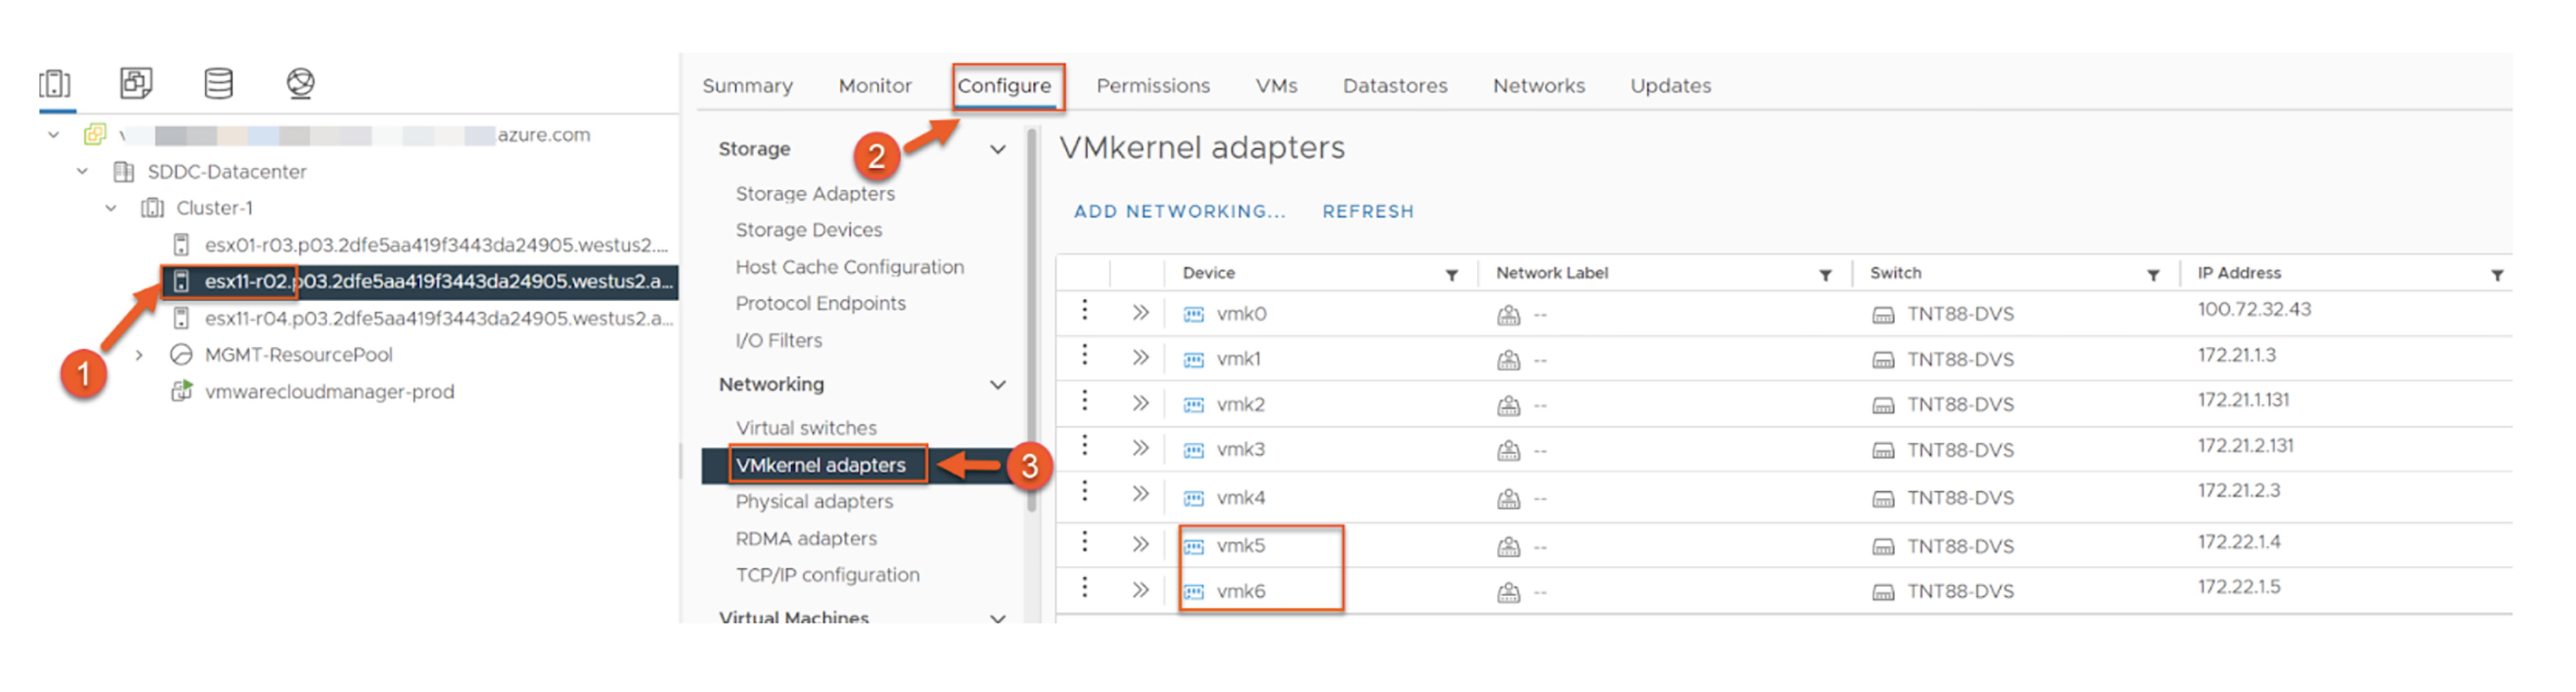
Figure 2: Confirming that vmk5 and vmk6 ports have been added to AVS ESXi hosts for iSCSI traffic.
Step 2: Allow-list Azure VMware Solution VMFS Run Command Library
The only other step needed before you can start to provision and manage storage with Pure Cloud Block Store is to add the Run Command Library that contains the VMFS PowerShell commands to your subscription. This is accomplished by running a couple of simple commands from the Azure CLI that registers your Azure subscription for two features.
To start, you’ll need to launch the Azure CLI. This can be done from the Azure portal or from any system that has connectivity into your Azure subscription.
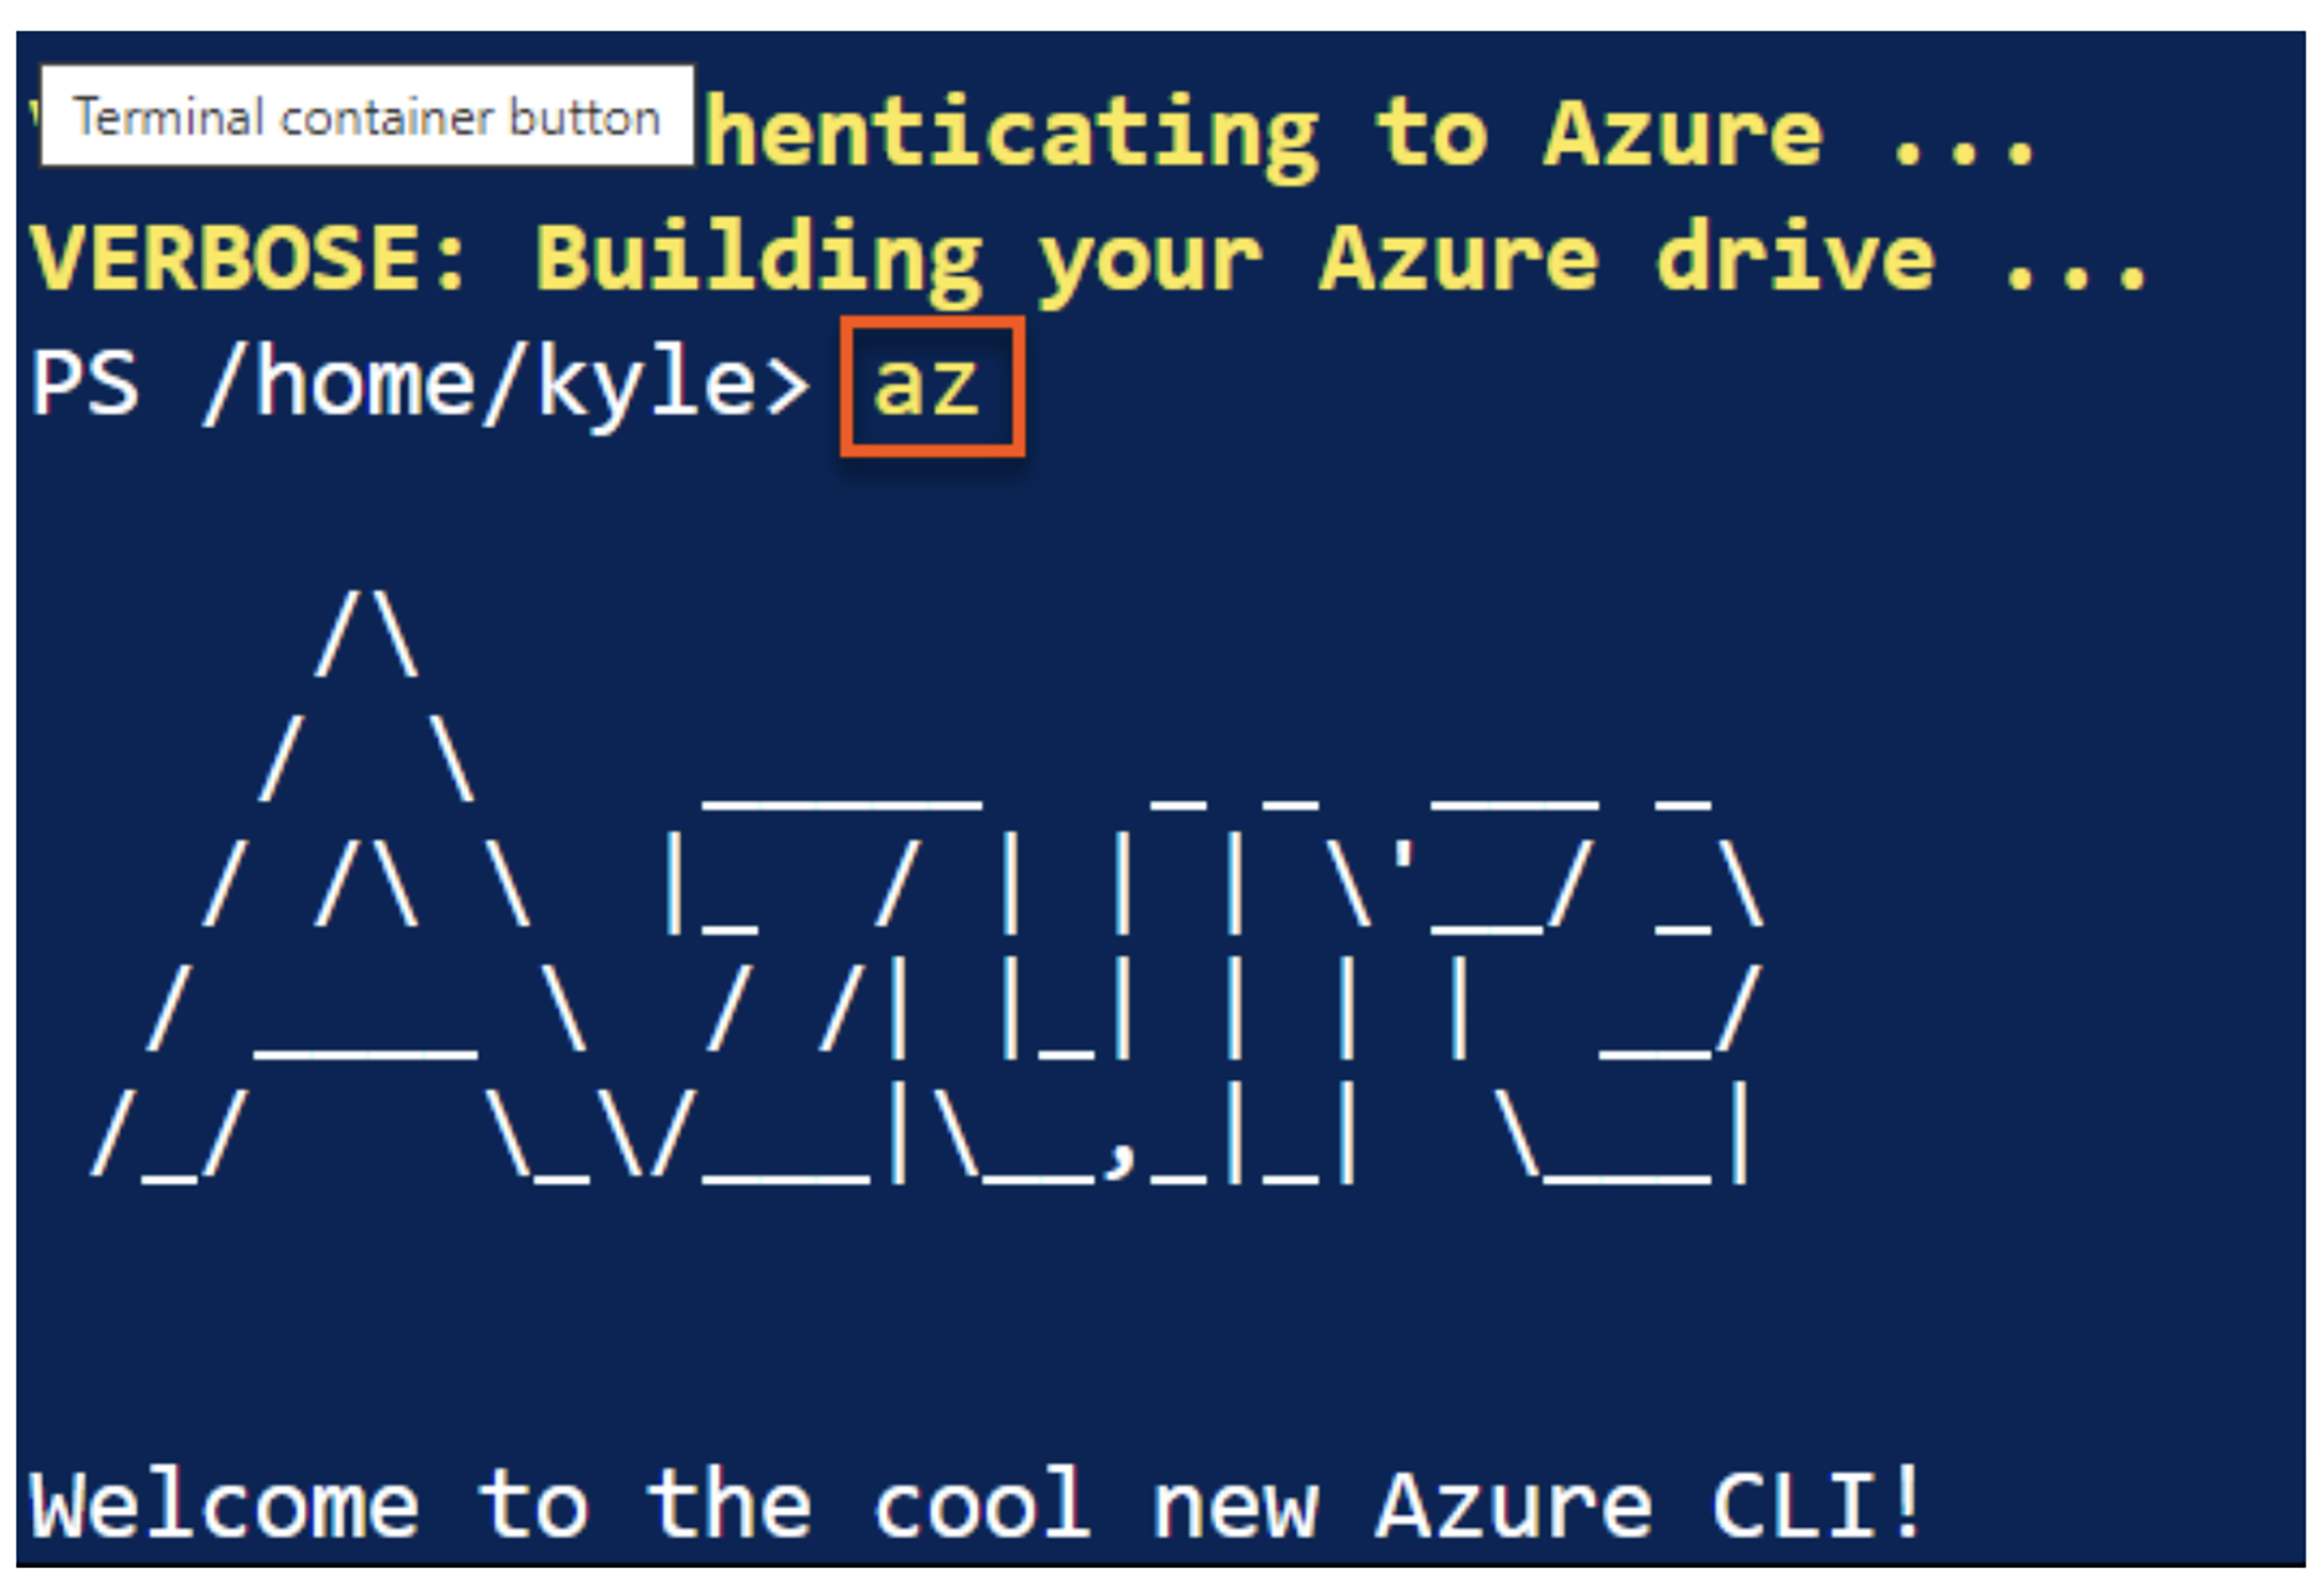
Figure 3: Launching the Azure CLI from the Azure portal.
From there, it’s simply a matter of running the following two commands, replacing subscription-id with your own unique Azure subscription ID identifier:
|
1 2 3 |
>az feature register --subscription {subscription-id} --namespace Microsoft.AVS --name earlyAcccess >az feature register --subscription {subscription-id} --namespace Microsoft.AVS --name scriptingPreview |
It can take up to a couple of hours for the VMFS run command package to be added to your AVS instance, but once it’s done, it will appear similar to the screenshot below. Note that version numbers for these packages do change over time so what you see might not match up exactly with what is shown below from a versioning perspective.
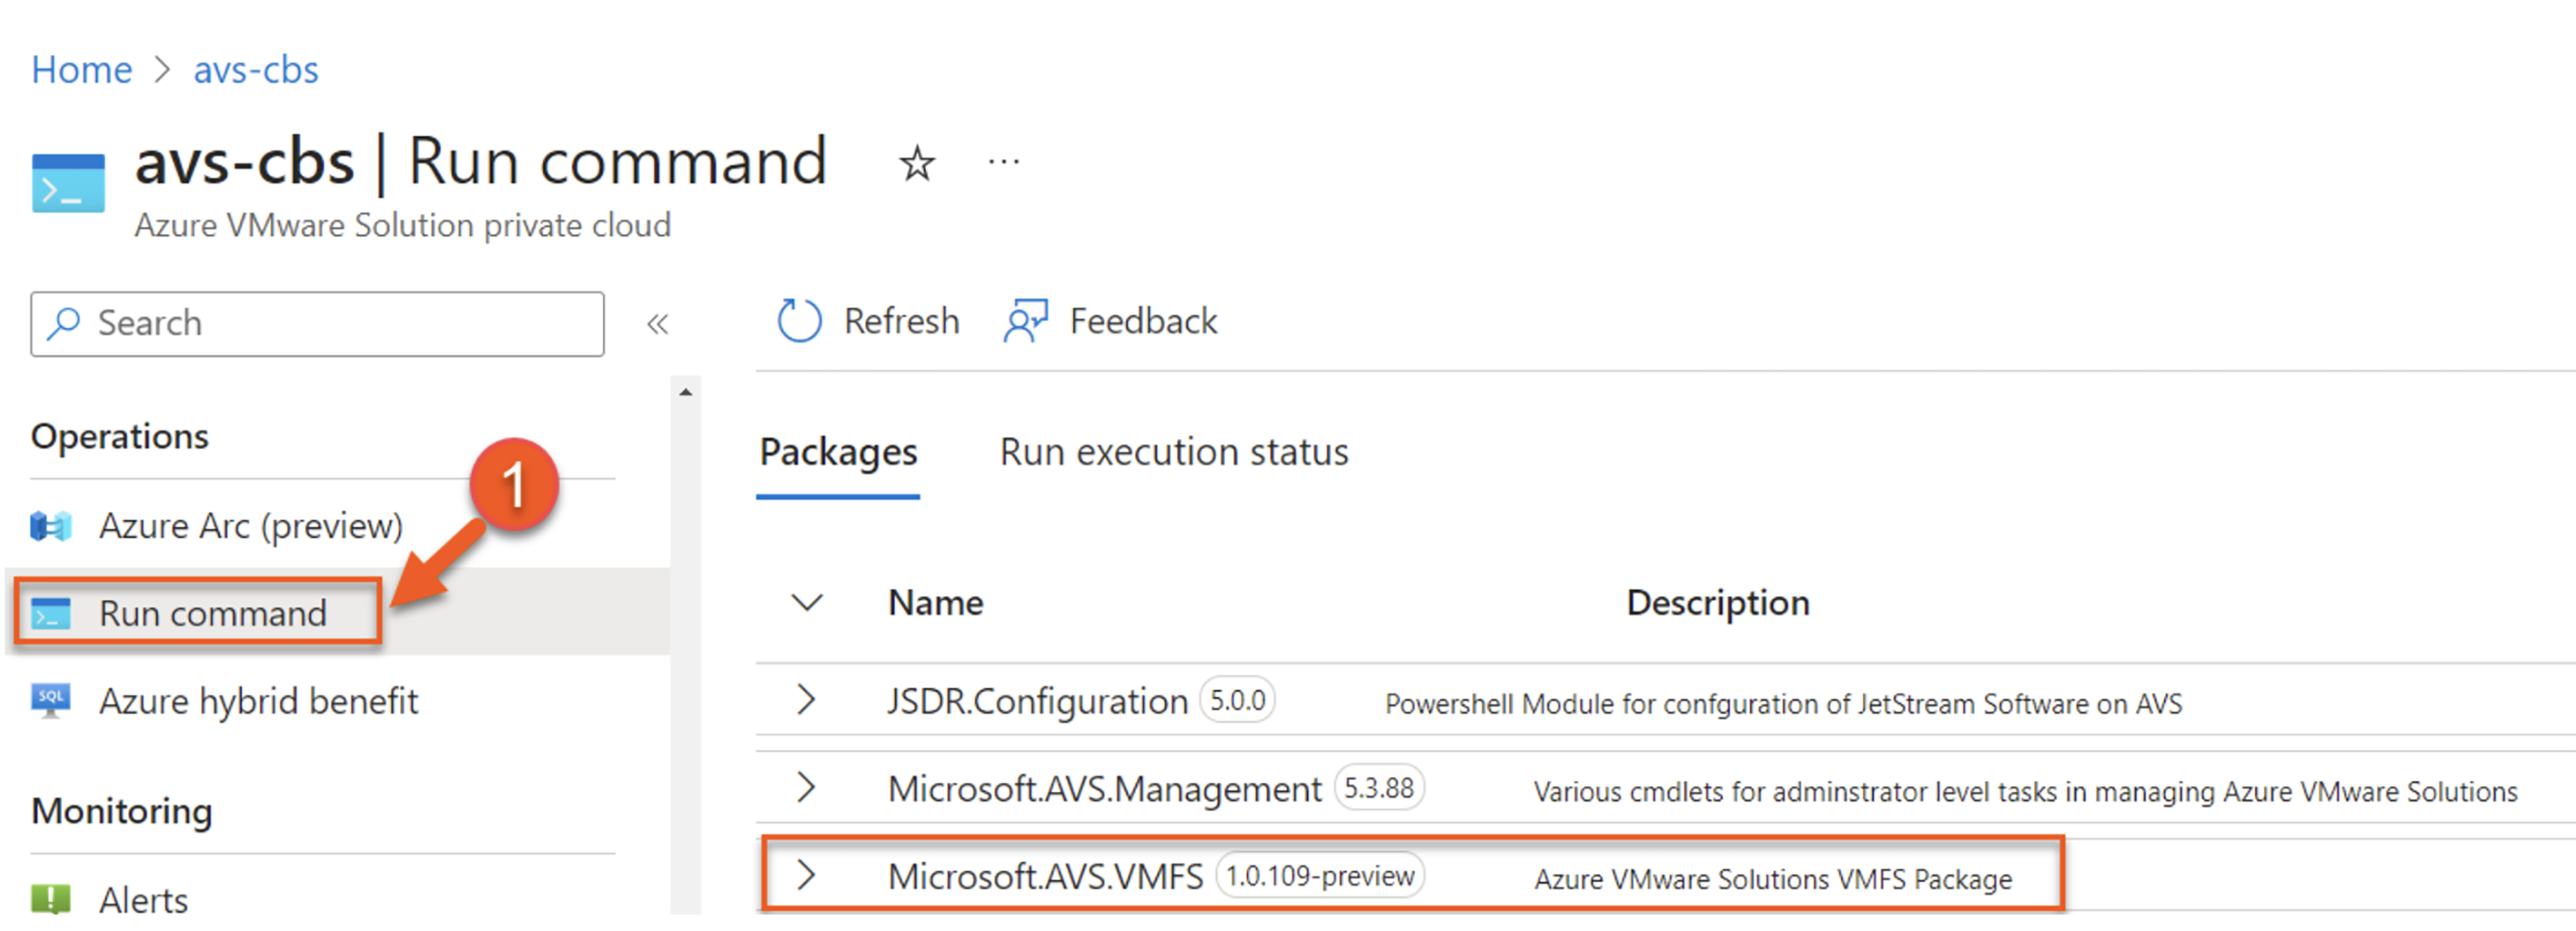
Figure 4: Confirming that the Microsoft.AVS.VMFS run command package is available inside of your AVS instance.
And that’s it! You can now provision and manage VMFS volumes from Pure Cloud Block Store as shown in previous blog posts. For more detailed information, check out our Implementation Guide.
![]()